

For years, I had relatively little interest in the Minimoog. I guess early synths just weren’t on my radar. (I’m more of an organ and electric piano kind of guy.) But in the spring of 2019, I had a unique opportunity to see – and briefly play — the late Keith Emerson’s huge modular Moog. What a monster! For me, it created the same overwhelming “master of the universe”-like feeling that people must experience when they sit down at a massive pipe organ. That experience definitely raised my interest in its little brother.
But price was a big barrier to becoming a Minimoog owner: I wasn’t nearly interested enough in it to pay the typical $4,000+ going rate at that time. (Which has since doubled in price!) Then Behringer came to my rescue: For $300, its incredible Model D re-creation put the basic sounds and functions of the Minimoog into a compact package that emulated the look and interface of the Minimoog. So, I bought one and a small controller — and had fun learning to explore its capabilities. Despite the small package, when it was plugged into my Peavey keyboard amp (with a 15” speaker) it was capable of big, beautiful sounds. I figured it was the closest I’d ever come to owning a Minimoog – and that was good enough for me.

But after several months of enjoying the “Boog,” good fortune came my way: I saw a Minimoog on Craigslist for a very low price. It was at an estate sale located just a few miles from my house. I raced over there – beating a few others who told the seller they were on their way. A few months earlier, before I bought the Behringer, I would have had no idea how to play or test a Minimoog. But my experience with “Little Brother” paid off. I quickly evaluated it, decided it was mostly functional, and made an offer that was accepted. Wow!
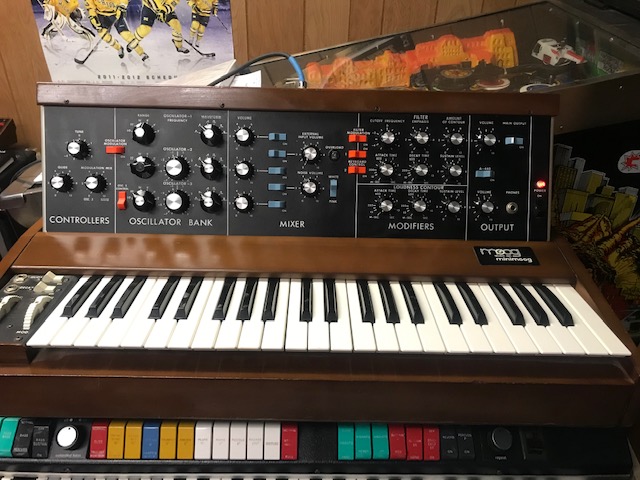
It was a 1980 model, one of the last ones made. Cosmetically, it was in outstanding condition. A few minor bumps and bruises in the wood case. Everything else looked like new. It generally seemed to work, but the keyboard was erratic. You’d hit a note and the pitch would waver in a crazy way before it eventually settled down to the proper note. If I hit the keys quickly, they seemed to work correctly. But if I pressed them slowly, I’d hear those wild fluctuations in pitch until the key was fully down. I guessed the issue was with the key contacts.
Born on March 13, 1980, it’s a later Minimoog, after Bob Moog and his lieutenants figured out how to make its tuning more stable.
I read the service manual, and it suggested the issue was either dirty contacts or that some keys’ trigger contacts were making contact before their pitch contacts. The latter would mean a fiddly job of realigning contacts. But my rule is always try the simple, easy fixes first. On combo organs, I’ve learned that you can often clean the contacts simply by playing an instrument that has gone unused for years. I tried this on the Minimoog for two days. It made the keys mostly function correctly. But there were a number that weren’t working right. And many of the keys I thought I had “fixed” were later reverting to their old, unhappy ways.
So, I decided to take my first trip inside the instrument, and clean the contacts. I removed the bottom cover and took a look. Everything looked really shiny and golden. It was great to see the contacts assembly was not heavily corroded, and it didn’t look like anyone had done anything dumb, like using something abrasive on the gold-plated busbars or contact springs in an effort to clean them. I pulled out a small, soft-bristle brush and some 99% Isopropyl alcohol and began carefully brushing the busbars and contact springs. About 20 minutes later, the keyboard was playing perfectly. There was no need to adjust any contacts, which I am told is difficult to do without damaging the fragile contacts.

Everything else seemed to be working perfectly. The knobs all did what they were supposed to do. All the pots were quiet. The keyboard was a little noisy and clacky, however. The solution to that required a little surgery: Inside the keyboard assembly, there is a little Pratt Read rubber bushing on each key. After four decades or more, they can get hard and break apart, so there’s effectively no “cushioning” for the key as it travels down and up So, I pulled out the key assembly, totally disassembled it and cleaned everything. (After nearly 40 years, some of the keys needed a little gentle coaxing with pliers to pull them out.) Then, you pull off or cut off the old bushings, and replace them with nice supple, new ones – coated with a bit of Dow Corning DC 7 release compound, which lubricates them. (Be sparing with the lube. Too much seems to encourage keys to stick.) And while I was at it, I cleaned and polished the keys, and adjusted the height of a few of the key stops that the bushings are mounted to, which is how you level the keys. Doing all this restored the feel of the keyboard to a like-new condition. (Hint: Vintage Vibe’s price on these bushings is far below the competion’s prices – and I’ve also used their bushings quite happily with my Gibson G-101 and a Hohner Clavinet D6.)
Other minor tasks: The A440 sound generator was flat. That was easily fixed by adjusting a pot. A little bit of scratch-cover solution helped camouflage a few flaws in the wooden cabinet. And I found a place that sold me one of the little aluminum inlays that was missing from an Oscillator 2 pointer knob.
I pulled out the Tom Rhea Sound Charts book of suggested keyboard settings that came with the instrument, and began exploring the sounds this legendary keyboard can make. It is just incredible. I went from playing Emerson, Lake and Palmer, to playing deep mega-bass lines, to playing a little Switched-on-Bach. Steel drum sounds. Jet plane emulations. Playing Reveille with a trumpet-like sound. Emulating the clarinet solo (with the famous glissando) that starts Rhapsody in Blue. It’s an amazing instrument. It’s like an electronic orchestra in a box!

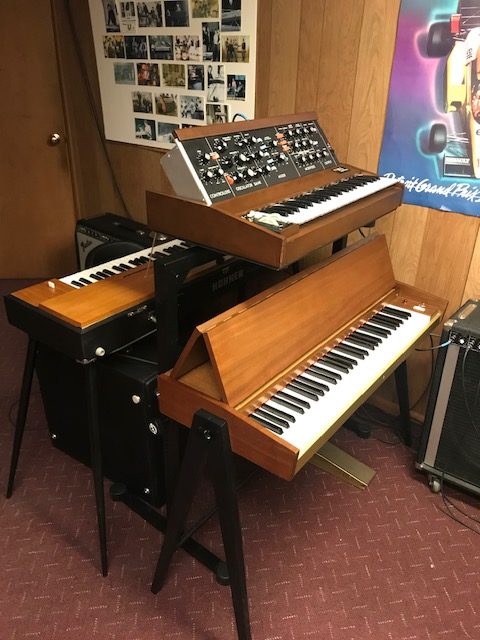
Because my keyboard space is limited, I bought a K&M table stand, a very beautifully built and sturdy way to hang the Minimoog over my Pianet. A quick test of the tuning yielded good news. None of these instruments are perfect in the extreme registers, but mine was pretty close. So there’s no immediate need for me to go through the tedious calibration ritual described in the manual. Eventually, however, I’ll get around to that.
My new arrival was born within a year of when production ended. The online chatter is that the earlier ones have a fatter sound. But the service manual suggests this is simply because the later models have more stable boards that better hold their tuning, and you can have that fat sound by slightly de-tuning oscillators 2 and 3, if desired. So I’m quite glad to have a late unit.
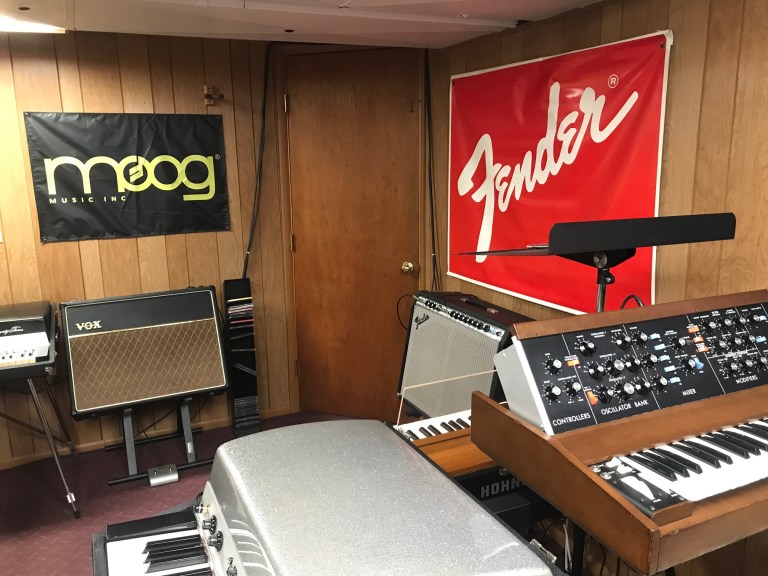
I couldn’t resist adding this Moog banner to the collection of banners in my music room.
Here’s a pedal that adds a lot of fun with the Minimoog:

Adding the movement of a delay pedal allows you to create all sorts of wonderful spacey sounds. I have it hooked up in stereo, so that the initial tones and the “echoes” bounce back-and-forth between two amps.
I’m using this lush, digital reverb unit, also hooked up in stereo.

Back in the day, Moog sold a model 958 control voltage pedal that allowed you to sweep the filter hands-free. Today, they are very uncommon, expensive collectors’ items that are typically in poor condition. For less than $100, you can own one of these Syntaur CV pedals that perform the same function. It’s a significant functional improvement that I highly recommend. (You can also use this pedal, or the original Moog one, to control the Minimoog’s volume or the pitch of the oscillators. But controlling the filter is much more useful, in my opinion.)

I added a pair of momentary floor switches to allow me to add glide or decay on individual notes or phrases without the need to take my fingers off the keyboard. I use two of these Boss FS-5U unlatched switches:

The Minimoog jacks for those decay and glide switches are not standard 1/4″ phone jacks:

They are 0.206″ dia. instead of 0.250″ dia. So, I found a pair of Switchcraft S-260 plugs on eBay, and made a cable to work with the Boss switches. (The plugs are also available at major electronics retailers, but typically at a higher price I paid in eBay.)
In May 2025, after years of owning this Minimoog, I finally decided the go through the tuning calibration procedure described in the service manual. No one ever made a vintage Minimoog Model D that is in perfect tune in the extreme frequencies. I thought my tuning was good enough, and the calibration procedure seemed difficult. But mostly I was worried that if I didn’t know what I was doing, I might make its tuning significantly worse. But then a friend was about to calibrate one, and I started looking into the procedure. And finally, in a moment of weakness, I started the process…
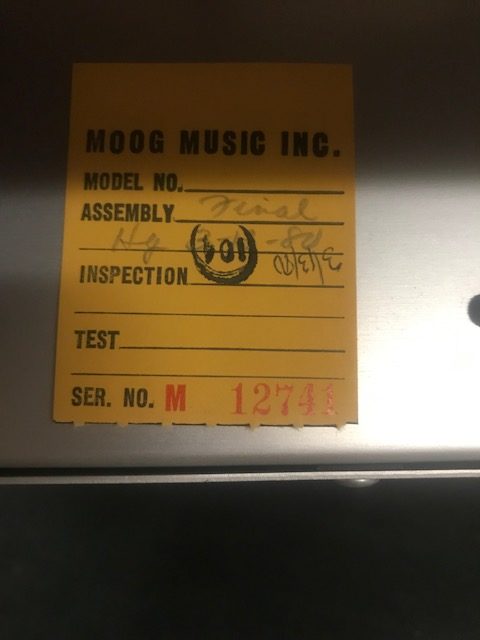
It really wasn’t all that hard! A bit tedious, but not hard. If you can follow directions well (I’m good at that!) you can do it. Note that is you have one of the later manuals, it gives different calibration procedures for the different oscillator boards in early and later versions of the Minimoog. So you’ll need to know you instrument’s serial number to select the right procedure. (Mine used the later board procedure.) One tip: Rather than trying to match the frequency of notes using by counting beats, I used my Cleartune phone app, which can give you a readout of the frequency of tones. The manual gives the frequency of each note in the calibration procedure.
These are analog oscillators. So don’t drive yourself crazy trying to get the frequencies perfect in the extreme ranges. For example, I decided that one high A note that was to be set at 3520 Hz was good enough at 3520.5 Hz. Perfection is not possible.
The results? A definite improvement. It really added a sparkle to the Minimoog’s sound!
After I had the Minimoog for several years, I noticed that when I moved the oscillator-two range switch, it was getting kind of erratic, making annoying pitch-changing noises as it moved between ranges, and sometimes even for a second when it was resting in a proper range position. The solution was to clean the switches: Remove the 18 screws that hold the back cover in place. Remove two screws that hold each of two circuit boards in place that block access to the back of the range switches, and pull the boards straight up to remove them. Then squirt a small bit of DeOxit 5 contact cleaner into the holes on the back of the range switches, and work the switches back and forth for a while. Problem solved.
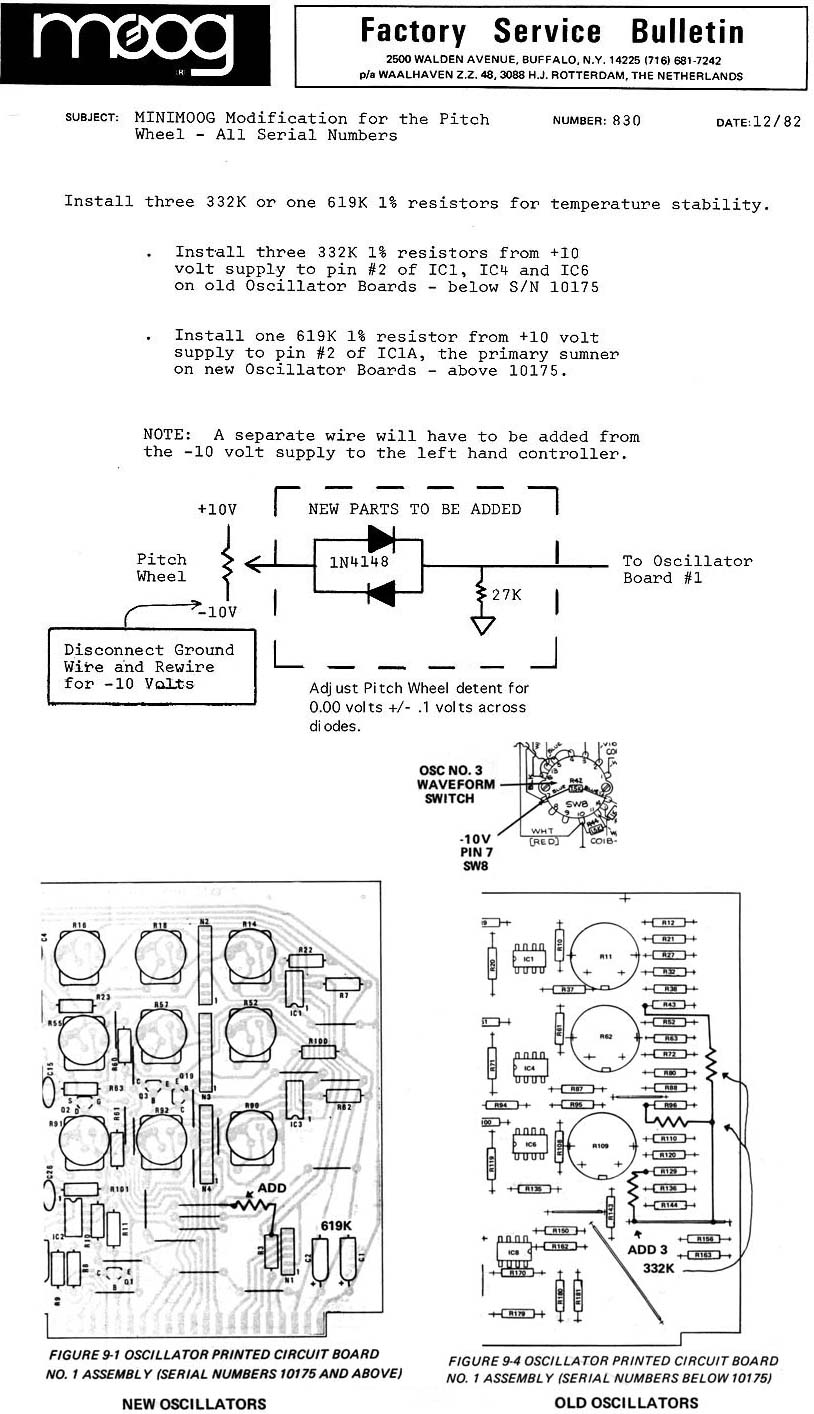
One of the more annoying “features” of the Minimoog is that when you use the pitch wheel and move it back to its detent position, it doesn’t return to your original tuning. It can sound painfully out-of-tune. And if you very slightly wiggle the wheel while it’s in the detent position, you can hear the pitch moving around. It’s enough to convince you to never use the pitch wheel. But there’s a solution. Moog put out a service bulletin (number 830) in December 1982. It involves adding several components (different ones for each version of the Minimoog boards) and re-setting the pitch wheel detent voltage. After it’s completed, it’ll have a true zero position on the detent. So there’s no more pitch shifting when you touch the wheel when it’s in the detent position. It also returns to the original tuning reliably when you use the wheel and return it to the detent. It works beautifully, but you’ll have to recalibrate the oscillators after you complete this. It’s well-worth the effort. It’s hard to understand why it took Moog more than a decade to figure out a solution. In fact, this bulletin came out after the original Minimoog production had already ended. You can find the service bulletin here: http://www.synthzone.com/midi/moog/minimoog/minimod.jpg
As much as I enjoyed my Behringer Model D, the idea that it sounds identical to a Minimoog seems mostly driven by both wishful thinking and people who watch Youtube comparison videos on their phones or laptops with tinny speakers. The Model D is a pretty amazing-sounding piece, fun-to-play, and an incredible value. But the Model D sound lacks some of the warmth and harmonics of the real deal. Its sound is very clean, noticeably cleaner than the real Moog. To me, it sounds a bit like like many digital emulations of vintage instruments that are excellent, but just too clean and perfect to sound authentic. (And the build-quality doesn’t approach that of the original.) So, the Behringer is maybe 95% of the sound of a real Minimoog. For $300, that’s a great trade-off for most people. But there’s something very special about owning the original.
Hear the sounds of Moog synthesizers


I have a vox continental ,Jennings english,
It plays well but volume reduces automatically in the higher notes for some reason. If you touch the lower notes past half way the volume on the higher notes goes back to normal. Any idea as to the problem. Thanks 🙏
LikeLike
Matt:
I’ve owned a bunch of Continentals, and have never seen this issue, and I don’t have any ideas for what it might be. This combo organ group has lots of Continental owners — and techs — and would be a good place to get some help: https://groups.io/g/combo-organ .
Good luck!
Alan
LikeLike
Thanks
LikeLike
It’s amazing how an experience with one synth can lead to discovering another.
LikeLike
So true! I’m up to three now!
LikeLike